How to Start a Photography Business on the Side
Many of us labor away from nine to five, day dreaming about “how to start a photography business.” Indeed, it’s a fine thing if we can turn our hobby into a paying career. It doesn’t have to be an all or nothing proposition. Most people think they have to quit their full time careers right away and jump straight into the world of entrepreneurship. It doesn’t have to be that way. In fact, we recently interviewed a CEO who recently sold his business for $60 million and offered the same advice:
With this in mind, it’s okay to dabble into a photography career on the side, while slaving away at your desk job. This is actually preferable, because you’ll likely need startup capital to get your business going. You’ll need money for acquiring equipment, building a website, building a portfolio, marketing yourself and building a customer base.
At 2Bridges, it took us a while to build up our wedding videography business. It certainly did not take over night. We all started out bartending, or working in office jobs before some of us could take the full plunge into building a production company in the Big Apple.
With all that said, let’s review what you’ll need to get started with building a side business for yourself in the world of photography:
Basic Photography Equipment List
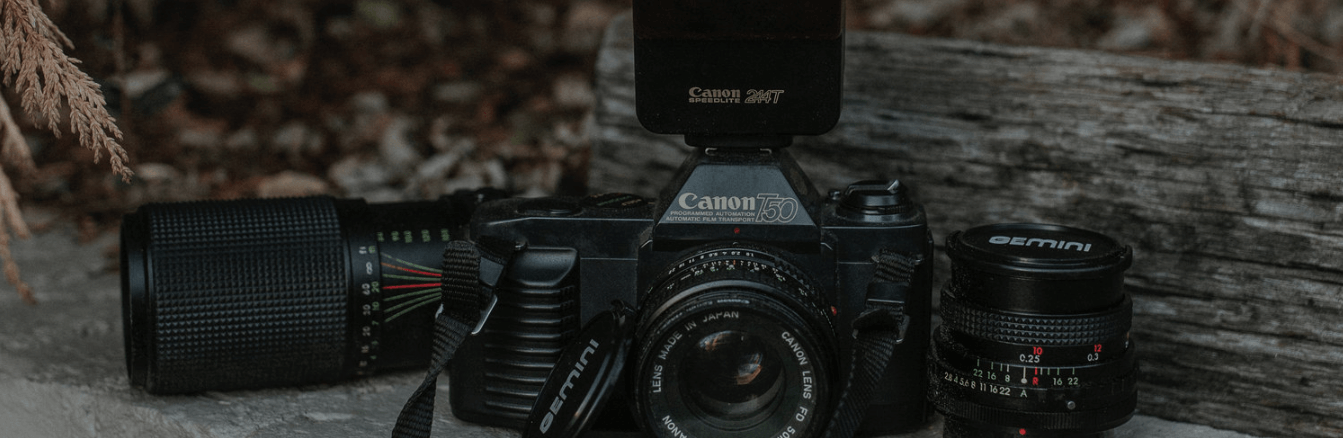
CAMERA
As a photography hobbyist, you’ll like have a camera already. If not, this is definitely a must to start a photography business. A camera is to a photographer like an artist is to his paintbrush. You can’t make photo art without it!
There are many options to go. You can take a look at our advice on DSLR cameras. The good thing about going the DSLR route is you can also dabble in videography as well. This opens up many possibilities, such as corporate videos, wedding videography and of course narrative filmmaking.
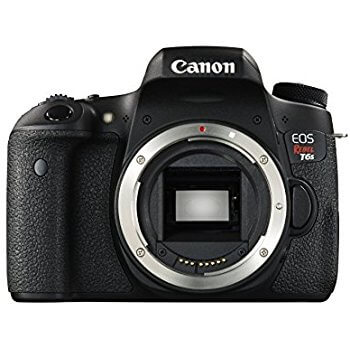
If you don’t want to invest in a DSLR, then consider Canon EOS REBEL T7i.
At approximately $750 in Amazon, it’s a solid entry level option for hobbyists who want to graduate from their smartphone cameras. Check out pricing and avaialability HERE.
It has a 24.2MP sensor that offers a great ISO performance compared to previous models. Its autofocus gets an upgrade from the 45-point arrangement that’s supported by a live view AF system. Finally, it has a brand new designed graphical interface that will appeal to its new users.
It does lack the ability to do 4K video (check out the Canon 5D Mark III if you want to shoot 4K video), but it makes it up with quality construction and materials.
LENS PEN
This is a very helpful accessory for your camera for it helps remove smudges and dust from your lenses without the use of liquids. The importance of this is that your camera’s lenses will from time to time get smudges and dust.
When this happens you will not be able to take quality pictures for you will not be able to see clearly. But with a Lens pen you will be able to remove the smudges and dust without necessarily using liquids.
Check out pricing and availability HERE.
MICROFIBER CLEANING CLOTH
Since a lens pen is curved it will not be able to work properly on filters. But if you have a cleaning cloth you will be able to clean the filters effectively. You just need to get a good cleaning cloth which will fit in your camera bag without occupying a lot of space.
Check out pricing and availability HERE.
AIR BLASTER
When dust gets inside your sensor you will not be able to take good pictures because the pictures you will be taking will be having black spots. The most effective ways of dealing with this issue is blowing away the dust using an air blaster. If you get the right air blaster you will be able to get good results and your sensors will always be dust free consequently enabling you to take high quality photos.
Check pricing and availability HERE.
UV FILTER
UV rays will have minimal effect on the photos you take but your lenses can easily get damaged. By getting a good UV filter for your camera you will be protecting your lenses and this will save you the money you would have spent buying new lenses.
Check out pricing and availability HERE.
CAMERA LENS
As a beginner you also need to have extra camera lenses. This is helpful because in case your lens develops a problem you will have a ready solution. If you are taking photos in any place you will not need to start looking for a replacement lens for you will already be having one in your camera bag.
If you don’t have any lenses at the moment, then check out the kit for the Canon EF70-300mm. It’s good to get a kit bundle, if you’re starting from scratch because you’ll get a lot of extras. You’ll get cleaning sets, UV filters and bags to go along with your equipment.
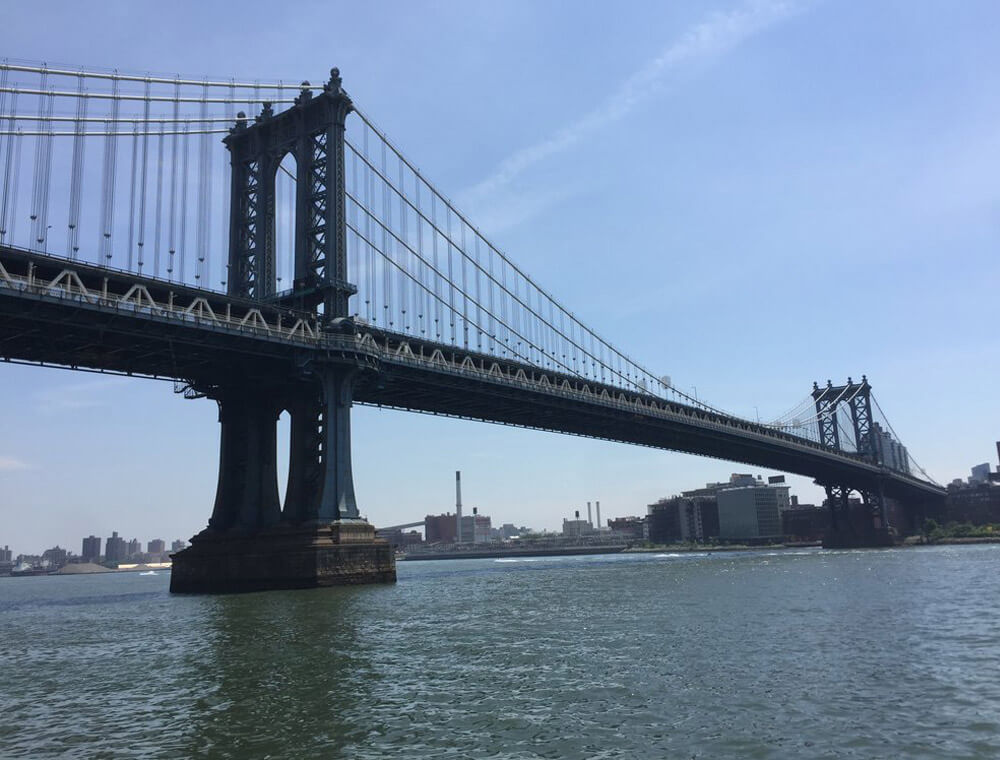
The Canon EF70-300mm allows you great range for a telephoto zoom. This particular lens kit starts at $500 which are priced for entry-level, photo-enthusiasts in mind. This lense is great for wildlife photography, taking photos of New York city monuments and live events (i.e. sports, wedding events). This is a great starting point if you wish to dabble in a side business in photography.
Check out pricing and availability for the Canon EF70-300mm kit HERE.
SD CARD
A fast memory card is one of the most helpful photography essentials for beginners. This is because the memory card will be the one to determine the number of photos you can take in burst fire mode. All what you need is to replace the memory card every 2-3 years depending on the photos you want to save on the memory card you are using.
Check out pricing and availability HERE.
CAMERA BAG
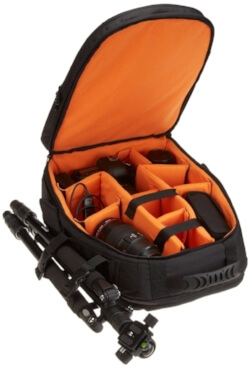
You’ll need a decent sized bag to carry all that equipment. One of the best priced options is the AmazonBasics Backpack for SLR/DSLR cameras. Coming in at around $28.00, it’s a good starter point for photo-enthusiasts. It has over 5,000 positive reviews, and rightly so. At a price of just under $30, it’s a bargain!
The AmazonBasics Backpack can hold and protect 2 DSLR cameras, 3-4 lenses and other various accessories for the world travelling photographer. In addition, the outside has two side pockets for trinkets (i.e. keys, phones, iPads) and two decent sized zippered pockets for notebooks or a poncho.
Finally, this backpack is adjustable and comfortable. It’s definitely a staple for any serious or beginner photographer.
Check out pricing and availability HERE.
POLARIZER FILTER
This is a helpful accessory especially for landscape photographers for it darkens the sky while at the same time removing the reflections from the foreground. If you purchase the aforementioned lens kit, you’ll get the filters as well.
If not, then you can buy them separately HERE.
REMOTE SWITCH
This particular switch is also helpful for beginners for it helps in taking photos without touching the camera. This is especially helpful while taking long exposures since you will need to remove camera wobble. You will just need to set your camera in a certain place and then proceed to take pictures without touching the camera.
The type will depend on the camera you’re using. If you’re using a Canon, then you can use this remote switch from Viltrox. It covers multiple types of Canon cameras.
Check out pricing and availability HERE.
FLASH
With the right flash you will be able to take pictures even in places where there is low quality lighting and at night. This is important because you never know when you will need to capture pictures even at night. You just need to select the flash that has the right qualities and is compatible with your camera.
A low-cost starting point would be the AmazonBasics Electronic Flash. It’s good for Canon and Nikon. With over 170+ reviews, it’s a solid choice for a photo-enthusiast and certainly for anyone looking to build a weekend, side gig in photography.
Check out pricing and availability HERE.
FLASH DIFFUSER
Using direct flash light can affect the quality of the pictures you take. But with a flash diffuser you will be able to make the flash light softer. This will allow you to take pictures even in dark places without affecting the quality of the pictures.
Our recommendation would be the Rogue FlashBender Reflector, usually priced around $40. The advantage of this particular diffuser is its ability to bend into various positions. Photography is about getting the right angles, and just like in videography, proper lighting makes or breaks an image still. There is an elastic fastener with Velcro, which makes it easy to use the Rogue FlashBender. An internal wire will hold everything still until you decide to move around the diffuser. This allows for very pin point positioning, which allows you to control the lighting on your subject.
Check out pricing and availability HERE.
TRIPOD
If the camera is the photographer’s equivalent of a paintbrush, then a tripod is the equivalent of an easel. Anyone who has ever tried filming or photographing by hand understands how fidgety we can get. Especially, if you’re shooting outside, the cold wind or the rain can make your hands tremble leading to poor images if you don’t use a tripod. When choosing a tripod, always consider the following:
- Height: Determine how high and how low your tripod can go. You’ll want to have the flexibility to shoot at a high angle or low.
- Weight: If you’ve made it this far, you’ll quickly see that a photographer has LOTS of equipment. The lighter the tripod, the easier to get around. Just ask any National Geographer photo-journalist taking photos of the Himalayan mountains.
- Stability: A tripod has to have the right build. A shaky tripod is as good as shooting stills by hand.
- Head Attachment: Is it pan-and-tilt or ball-and-socket. One is less costly but less flexible, and the latter is more expensive but offers greater flexibility.
- Leg Locking: How do the legs lock into place? Do you need twisting or screwing? Perhaps, it uses a flip-lock. These are functional decisions you’ll have to make before choosing your tripod.
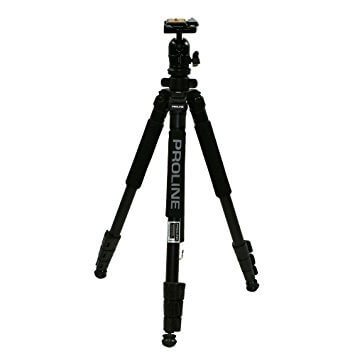
A good choice for entry level, photo enthusiasts would be the Dolica GX600B200 Proline. It’s a ball/head combo so has a greater flexibility than a pan-and-tilt. It only weighs 2.5 pounds and can handle up to 15 pounds with its flip-lock legs. Finally, it has 1,100 positive reviews and has an affordable $50 price in Amazon. It’s not a professional tripod, but definitely something to consider if you’re looking to dabble in photography.
For pricing and availability, check HERE.
Finally, check out some courses or books on different photography techniques. This will entail another post or article and is out of scope for this article. But if you’re interested, check out THIS COURSE for a good introductory or refresher course on photography techniques, tips and tricks.
If you want to take photography seriously, its important to keep learning and understanding different styles. In time, you’ll develop your own distinct style, and this is what will set you apart from everybody else. This unique style is what your customers will pay you for time and time again.
Now that you’ve got your equipment and ready to go, it’s time to actually setup your business!
GET A NAME AND REGISTER
For just about any business you want to conduct the first step is getting a business name and registering it with the government so you’re all nice and legal. The requirements are going to be different in every country but we’ll go over the procedure for most locations in the U.S.
Businesses are typically registered with the county in which you live. Most people want to register as a Doing Business As or Assumed Name type of business; this involves much less paperwork than other types of businesses.
With a DBA or Assumed Name your business is considered the same as you individually; you simply report your income from the business (minus your costs and expenses) on your usual tax forms. Of course you should consult with a CPA or follow instructions you get from your county clerk if they’re different from these instructions.
Your county clerk’s office is where you get your paperwork; you need to choose a business name that’s not already registered with the county. Many counties have a website where you can double-check your choice against what has already been registered or you can call the clerk’s office and have them look up your choice. This is a good idea to do before you send in your paperwork because if you pick a name that’s already been chosen they will simply send back your papers unregistered and you will need to start all over again.
Usually there is a small fee for your country clerk to register this paperwork; check the paperwork or call ahead and be sure that you include a check if necessary.
Once you have your paperwork registered with the county (they’ll send it back to you with a stamp or confirmation) you can then take that to a local bank that handles business accounts and open a business checking account. You can usually then get a post office box, business cards, and so on.
MAKE A PORTFOLIO
No matter what else you have going for you, prospective clients will hire you based on your portfolio more than anything else. It doesn’t matter what you charge or how much experience you have; if you don’t have a good portfolio they will probably go elsewhere.
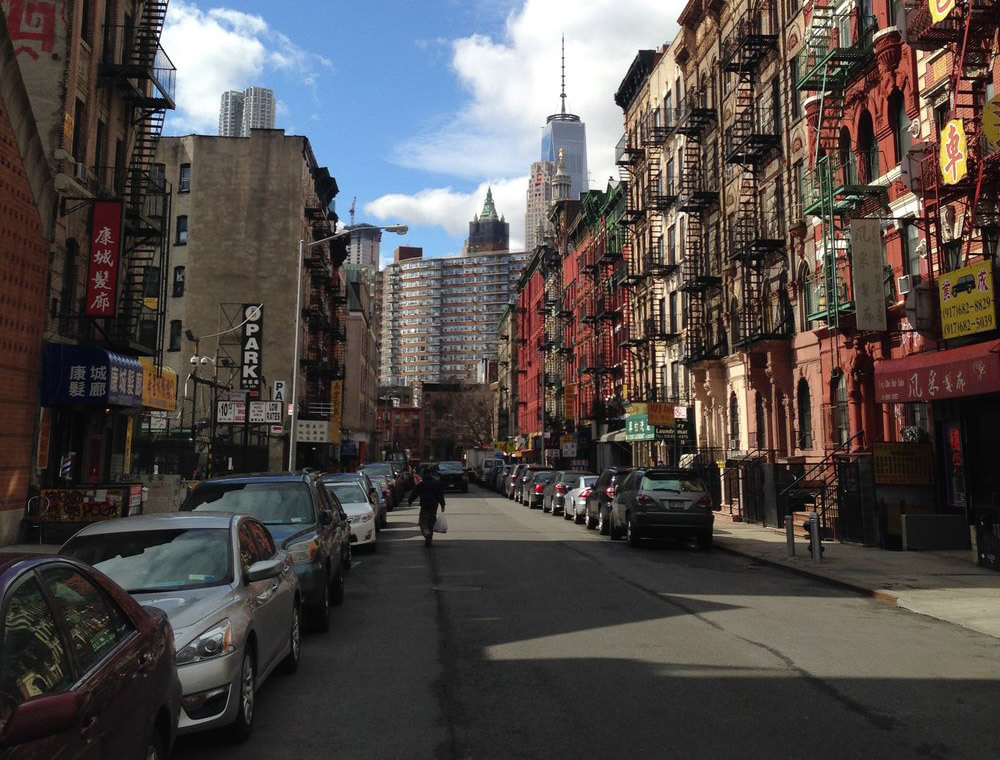
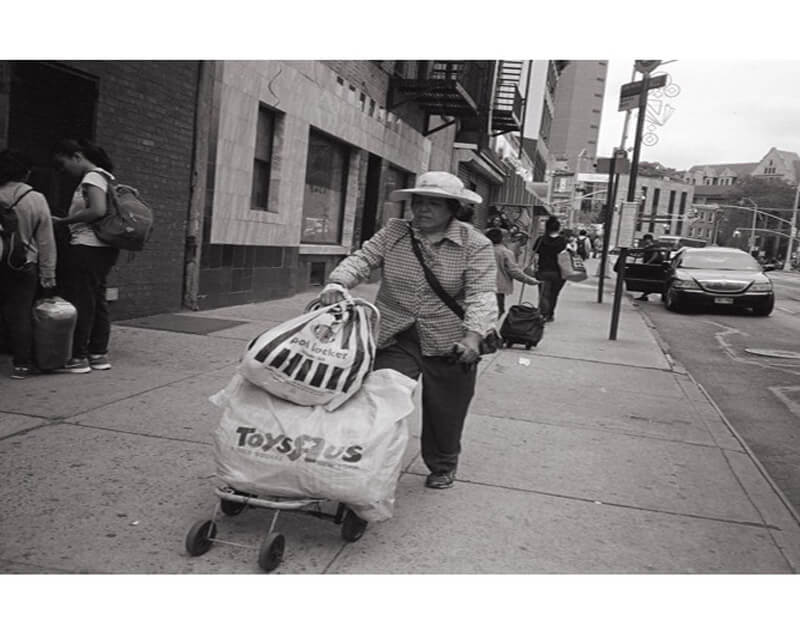
It’s especially important when you build your website (yes you need one!). Then you can showcase your work like ours. Or check out our street photography gallery:

Your first question might be how you’re supposed to get a portfolio to get customers if you need a portfolio to actually get those customers. Getting a good portfolio is not as hard as you might think; remember that your portfolio doesn’t necessarily need to be from actual paying customers and while you want wedding photographs to be included it is good to have other types of pictures as well.
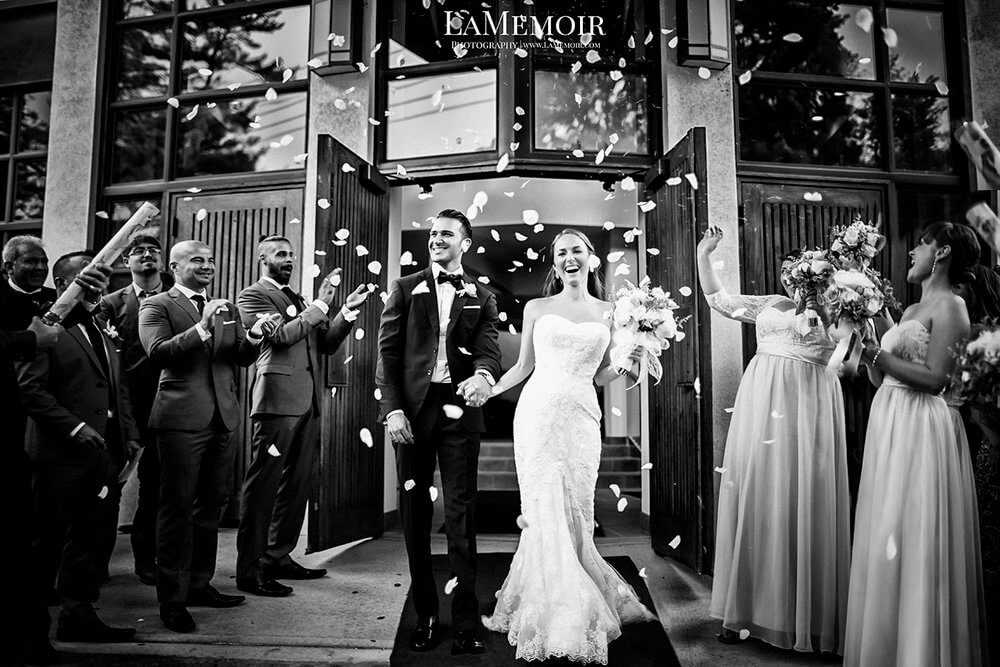
So to get those photos, rely on your family and friends. Know anyone that’s getting married soon? Let them know that you need a portfolio and ask if you can attend their wedding and reception to take pictures just for your portfolio. Make sure they understand that you’ll stay in the background and out of everyone’s way and won’t disrupt the ceremony or reception in any way. If you’re familiar enough with them you might offer to give them some pictures for free in exchange for being able to do this.
Your friends and family might also know others that would allow you to do this; people they know from their religious affiliation, from work, or just other friends they have might be willing to let you attend their ceremony and reception.
A portfolio should also include other shots outside of a wedding so that potential customers can get a feeling for good of a photographer you are overall. Take landscape shots, photos of your kid’s soccer game, and portraits. Dress them up with different props and backgrounds. Take still shots of different things as well – a bride will want those photos of her invitations, the cake, and so many other inanimate objects that you want to show that you can take breathtaking photos of those as well.
Make sure your portfolio has only the best shots you’ve taken. Don’t rush through this process but consider your time to be an investment in your future business.
GETTING CUSTOMERS
So you have your business name all legal and everything, you have some nice photos for a portfolio; now what? How to actually get customers?
Make up marketing materials.
Since photography is a visual art you’re going to need something that people can see in order to communicate how good of a photographer you are. This is where marketing materials come into play.
You should have some creative and colorful business cards and brochures created so that you can hand them out to friends and family. Think of places you go that have bulletin boards where you can pin a card – the supermarket, your church or religious building, or the gym.
It’s good to have a professional work up your marketing material this way rather than simply relying on your own creativity. Many professionals who create this type of material have some schooling in graphic arts and design and know that things need to be composed a certain way in order for the clients and customers to respond. A professional can also help you with ad space you may be purchasing in a circular or magazine.
Other places for customers.
Finding potential customers for wedding photography means finding those that are planning a wedding. Here are some specific suggestions:
Visit wedding supply stores or bridal salons and ask if they have anyplace or any way you can advertise. This might mean leaving a stack of brochures on their counter or in their waiting rooms. You can also do the same for florists, printers, and anyplace else that sells materials for weddings.
CONCLUSION
Thank you for making it this far in our article. Whatever business you pursue, just remember it takes a while to build a successful one. As the former CEO of Bulldog in the video above stated, it will likely require working full time whilst you build your business on the weekends. This will likely take a lot of effort and time, but the rewards of having your own business is worth it.
You’ll have financial freedom and be your own boss. So start implementing the tips and tricks from this article and start building your photography business!