Product Photography as a Career: Tips on How to Get Started
Whether by choice of profession or the desire to pick up some extra cash by way of freelance photography, you might find your way into the realm of product photography. It can be as profitable as photographing scenic beaches or landscape photography.
It is not as easy at it seems, especially with complicated, or even overly simple products, and selecting the right equipment is even more difficult.
First, I am operating under the assumption that you already have the camera base and are looking for the additional accessories to get started. Saving the actual camera debate for another time, it is not entirely necessary to have the most expensive model available.
I personally shoot with a “prosumer” level model, the Nikon D80. Before you purchase any equipment, do yourself a favor and consider the following:
Research where you will be shooting
You might need extension cords, a different table, or some other adjustment in order to have the environment setup correctly. If you are not shooting at a studio, but in an office environment, is there an available room where you can use all of your equipment?
Are you able to control the lighting in the area you are shooting in?
It might even be best to take your phone camera and download some apps to help you scout the location. Do your research!
Research what you will be shooting
If you are going to be photographing something very small, then you obviously do not need a large light tent. Think about what items you are photographing ahead of time and what items you might need to photograph in the future and plan ahead to save yourself some money and headache in the long run.
The products you will be photographing will dictate much about the equipment you purchase.
Cost Considerations
Plan your budget and write it out. With the camera base already in hand, and depending on the type of objects you will be photographing, you could purchase the needed equipment for under $1,000. A digital light shed (24″ x 24″ x 36″) and light stand kit will run you approximately $180.00. The tripod should cost about tripod – $75.00 and the carrying case is easily $20.00. Buying a macro lens with UV filter will set you back $400.00 – $450.00.
For the products that I was photographing, they were relatively small, so I did not have the need for a large shooting tent. A kit was selected rather than purchasing the items individually, which was done to save money. In the kit, not only did it arrive with light stands, bulbs, the tent, but it also had reflective and solid plastic and fabric inclusions which served as optional backdrops.
We also saved money by taking a less costly approach to purchasing of the tripod. The estimate above is very conservative compared to some of the models that are currently available for the photography world.
The same goes for the macro lens. Rather than choosing the name brand model, which listed for over $800, I chose the Sigma counterpart, saving $400 and making the entire package much easier on the wallet. This was a very humble beginning but one that can be built upon if needed.
Lights, Camera, Action
Once you get your product setup, shoot, shoot, and shoot some more. As any of you who have been taking photos for any amount of time can state with certainty, never be afraid to take multiple pictures of the same image with the same setup.
This especially holds true if you are experimenting with a new lens. As a habit, I take at least 5 shots in the same position before moving to capture a different angle.
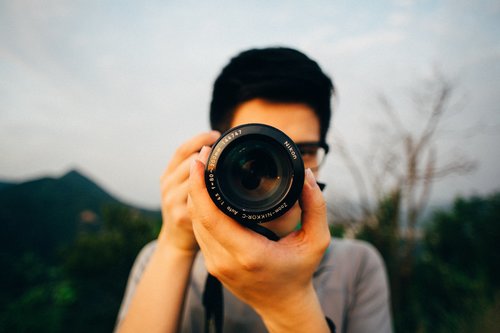
(Cover Photo by Nirzar Pangarkar on Unsplash)
2Bridges Productions Copyright © 2017. Address: 25 Monroe St, New York, NY 10002. Phone: 516-659-7074 – All Rights Reserved.
We are a participant in the Amazon Services LLC Associates Program, an affiliate advertising program designed to provide a means for us to earn fees by linking to Amazon.com and affiliated sites.


