
How to Make DIY Book Videos Cheap
In a YouTube obsessed world, book videos are the hottest new way to promote your book but the production of a really good book video can cost anywhere from a couple hundred to a couple thousand dollars.
The thing is you don’t need a Hollywood movie to promote your book. Just a decent little video will do.
As long as the end result is professional and obviously something that makes your book stand out and look like something people are going to want to buy.
Think of it as a book trailer. A book trailer is a promotional video that uses key plot points and/or characters in your book to promote your literary work. The video will help build excitement so that people will want to reserve a copy of your book before its official release.
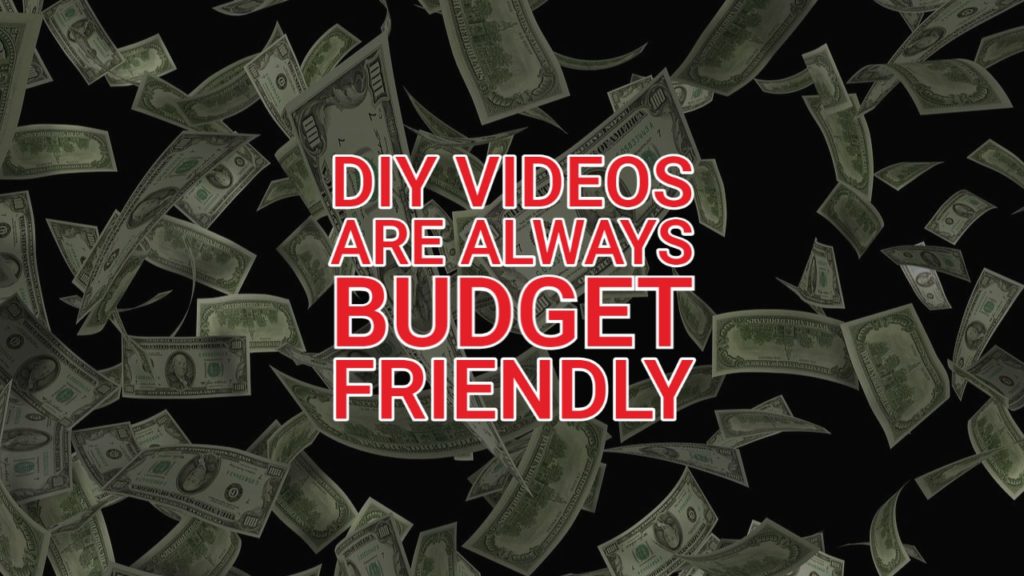
How much will this cost?
I know you’re probably thinking that the last thing you need to do is add one more thing to your book promotion budget.
The best way is to hire a video pro to make your video. But only if you have the budget.
But I have really good news…you can make your own book video while spending little to no money even if you have no photography or video experience.
If you have Windows Movie Maker and a good, high speed internet connection you can easily DIY your own book video while spending little to no money.
Where to get royalty free images?
One of the hardest and most time consuming parts of making a book video is finding the right images and music that are royalty and copyright free.
There are several sites where you can buy stock photos and get rights to use music- but that can end up costing a lot of money.
If your promotional budget is next to nothing you’ll want to spend as little as possible.
The good news is that there are free images and music out there. You can hit search engines and look for royalty free images and royalty free music.
You can also search for images and music that are in the public domain.
If you don’t want to sort through all the (mostly crappy) results from a search that often leads nowhere, skip it and go straight to one of the best sources I know for free images – Flickr.com.
Flickr has a creative commons section of images (www.flickr.com/creativecommons).
The best license to search under is attribution license. This gives you permission to alter the image and use it commercially as long as you credit the creator.
I do warn you though- if the image is of a celebrity or a photograph of someone else’s work or just feels hinky in any way- don’t use it. Licensing, copyrights and royalty issues can possibly arise.
For more about Creative Commons licensing visit CreativeCommons.org.
Flickr also has a section called The Commons www.flickr.com/commons/usage. The Commons is an archive of public domain images added by historical institutions, libraries, schools and more.
All images are listed as copyright free and in the public domain- that means they should be free to use for creative works.
Just be sure to take precise notes and always credit your source in case any issues ever arise (better safe than sorry).
What about the royalty free music?
The other major part of your book video other than images is music. You can’t pick a song off the radio and use it in your video. You could get sued for not getting the proper permissions to use the song commercially.
I lucked out and found a site that offers a huge selection of royalty free music specifically for people like you and me (i.e. broke artistic types), students, and film makers to use in their creative endeavors.
Go to Soundcloud and search for royalty music. To be safe, reach out to the artist as well and ask for permission to use their music.
Most of the time, they’ll be glad to lend you their music because it helps promote their music for free.
Put it all together
Once you have all your images and music downloaded to your computer put it all in one folder so it is easy to find.
Then open Windows Movie Maker. Click “New Folder” then click “Import Media” (top left) and one by one add all of your images and music to the new folder within Movie Maker.
Once you have all of your media in the new folder then you can start dragging and dropping things onto your storyboard.
If you want to add words between images click “Tools” decide where to add the words by clicking on the frame that you want the words to appear before, then click “Titles and Credits” then click “Title before selected clip”.
Type in your words, you can change the font, the color, and you decide what kind of movement or special effects you want to do with the words and add them in.
After that you can alter images, fade in or out, or use other special effects or create transitions between each frame.
Be sure to include an image of your book cover somewhere in the video along with a movie credits roll at the end to give all of your images and music proper accreditation.
Add your music last once everything else is in place. This is so that it ends up exactly where you want it.
You’ll have to switch from the storyboard view to the timeline view to add it in correctly.
Show it to the World
Once your video is finished publish it, then upload the finished product to You Tube where you can spread the word, use the embed code to customize the size and color border of the video viewer and then easily embed your brand new book video into your websites and blogs.
You can also pass the link onto other blogs and sites who might publish your book video.
Finally, there’s always YouTube. It’s the premier video hosting site in the world. Make sure to add a catchy thumbnail and description, and let the Google algorithm do it’s thing.
