How to Make Skateboard Videos: Information for Independent Skateboarders
With websites like YouTube, Myspace, and simple blogs, it’s no wonder that individuals enjoy making videos of their daily exploits, vacations, experiments, and countless other events. One of the more popular videos are skateboarding videos, where skateboarders created a compilation of their tricks, ramps, and other aspects of skating.
If you are a skateboarder and you’d like to try your hand at creating your own skateboarding video, read on to get started.
Items Needed:
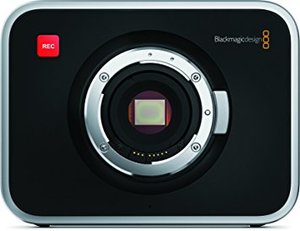
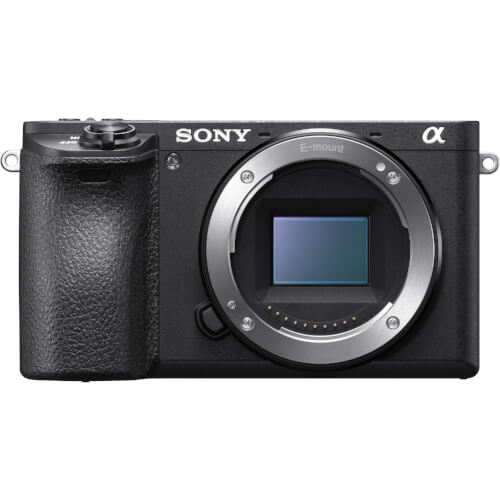
- A high quality camera (such as Sony a6500 or the Blackmagic Cinema Camera)
- Lens attachments
- Skaters
- Computer
- Video editing software
Step 1: The most important aspect is a camera. You want something that can record at higher frame rates than normal – 60fps is ideal. The camera should be small and light, so that is isn’t hindering to the filmer, who will need to move around quite a bit. It should also have image stabilization.
The Sanyo Xacti is a good line to consider, as the cameras are small and flash based, with HD capabilities and decent prices.
Step 2: Once you choose a camera, you need to get attachments for it – particularly, a wide scene adapter and a fish eye lens. These will attach the the camcorder with a magnetic ring, so make sure the camera you choose can take these types of lenses.
Step 3: Make a plan. You will need to decide ahead of time the general way you will want the final video to be. This will decide on the types of scenes you shoot, and the types of footage you will need for the final project.
This is as simple as getting a piece of paper and pounding out a few ideas.
Step 4: No start filming. At first, get all the basic shots you will want. Film tricks at different angles, and get as many tricks as you want.
After you’ve gotten the basics shot, you can get the more creative shots. Consider strapping the camera to a skateboard to get a low shot, or to a helmet to get a birds-eye view shot.
Finally, get creative with the lenses and get a few offbeat shots to shake things up.
Step 5: Now you need to edit the footage into a video. You will need a computer with enough hard drive space for the videos, and some software to edit them. A good program is After Effects, but is expensive. A better choice would be Movie Maker or iMovie.
Download the video to your hard drive and copy them into the movie editing software. Start by arranging them in the order you will want them to play.
Once they are in the right order, you will need to crop them to be shorter. Pay attention to the videos before them, and crop accordingly. Make one shot longer, followed by some fast edits. Don’t be afraid to do some extra filming so you have enough to work with.
Step 6: After you’ve edited the video together into the final product, add some music. No one wants to watch a movie that is silent, or has hacked audio from combined clips. There are a number of sites that offer free audio for personal videos.
Step 7: Render the video and save it to your hard drive. If it’s a long video, this can take quite awhile. Be patient.
Step 8: Now that it’s finished, upload it to YouTube and hope it goes viral!
(Cover photo provided by Pexels.com)